Thinking about getting your first 3D printer, but afraid it will be too complicated or too expensive? Or maybe you already have a printer, but are looking for a more affordable and easier-to-use option? Flashforge Adventurer 5M Pro is a model that promises to be ideal for both beginners and those who want to upgrade without major investments. This printer offers balanced functionality, ease of use and an attractive price.
However, does this printer really live up to its promises? Although the Adventurer 5M Pro looks like an attractive option, it is worth delving into its advantages and functionality. Although this is my first 3D printer, I will review its strengths and weaknesses from a beginner's point of view so that you can evaluate whether this model can really be a reliable solution to start your creative projects.
FlashForge Adventurer 5M Pro
Assessment:
What did we like?
What didn't we like?
Unboxing
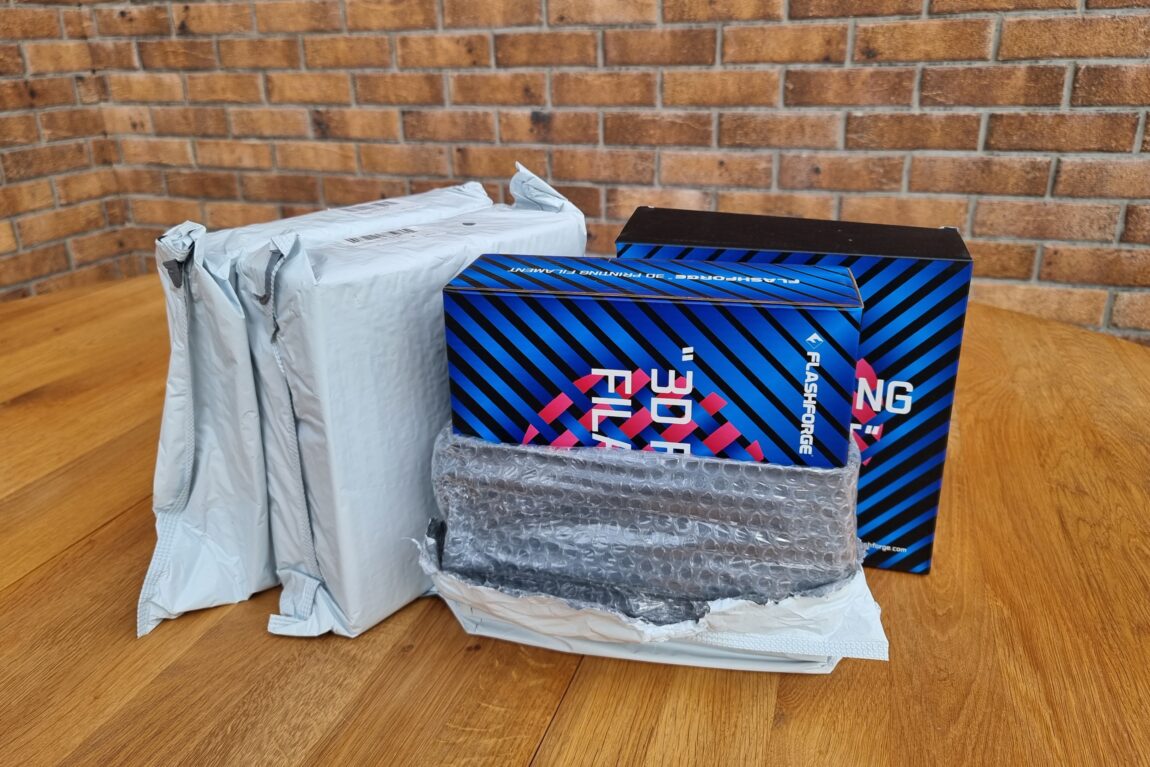
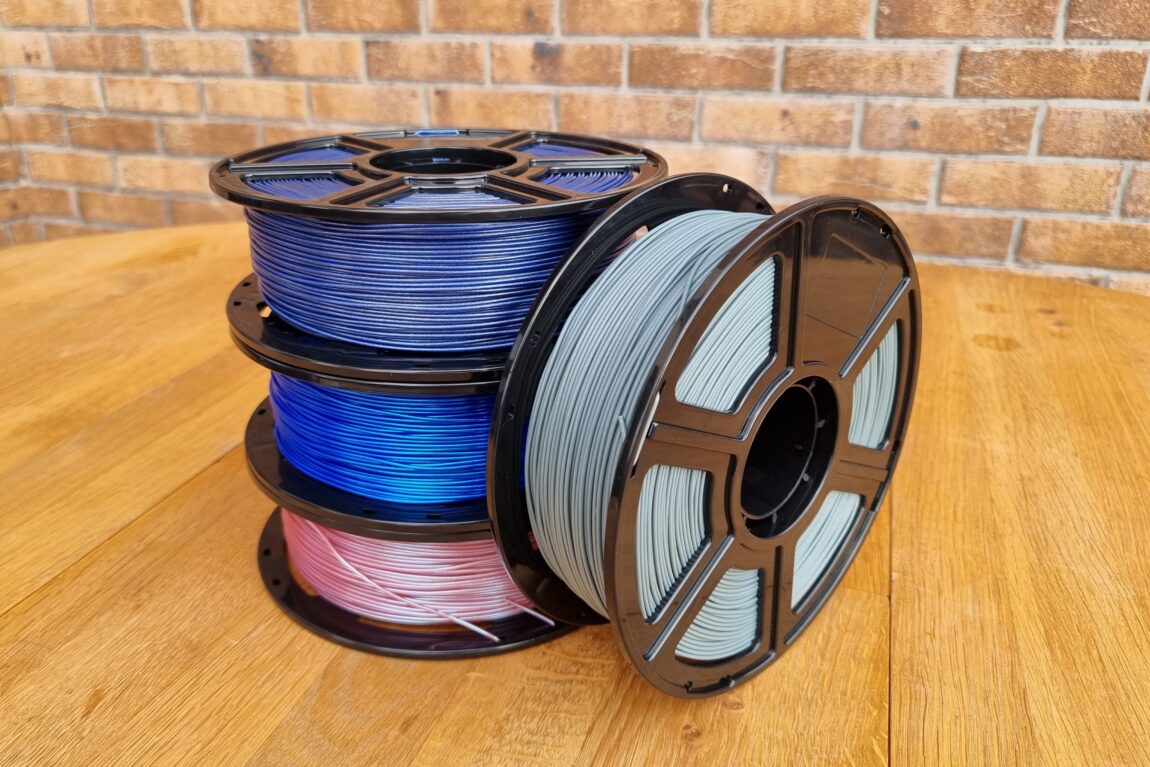
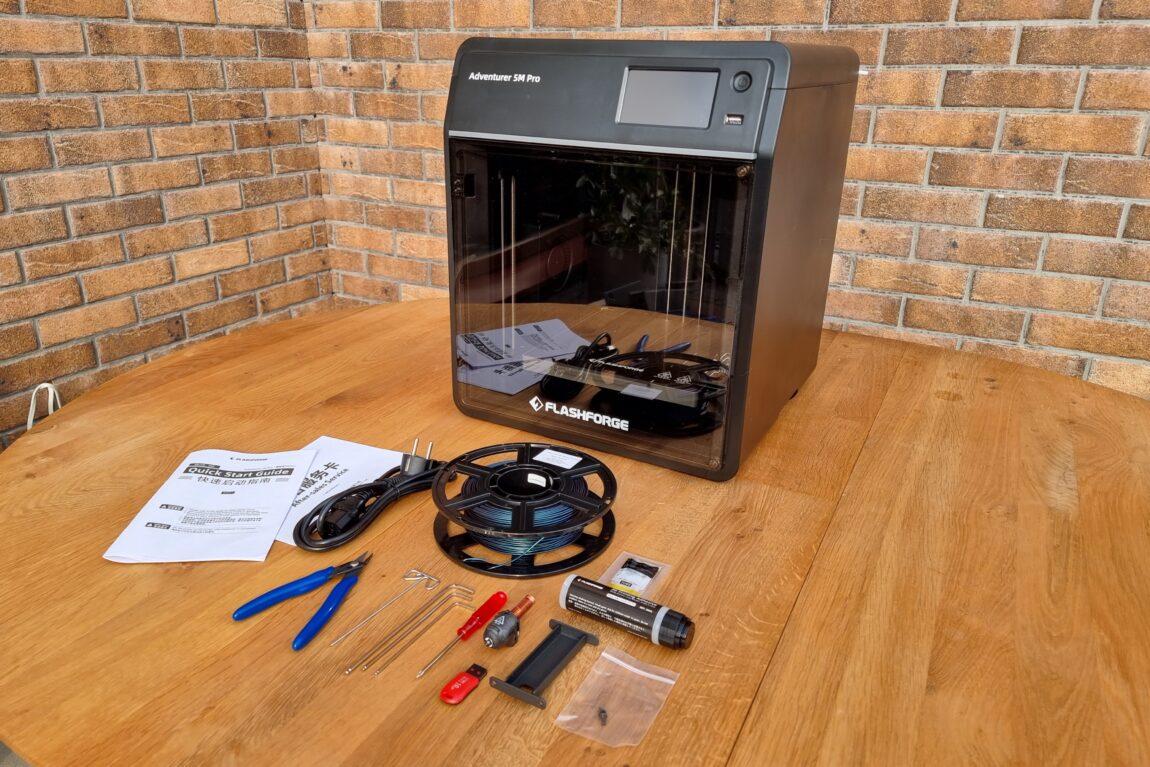
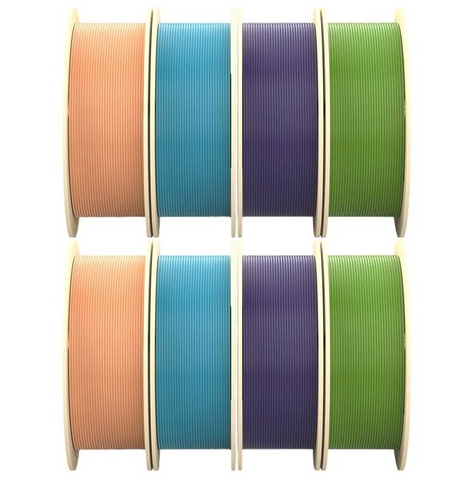
The shipment of the 3D printer arrived in a set of two boxes. In the smaller box, we have a set of four boxes in plastic wraps with protective padding. Each pack contains boxes of vacuum-sealed FlashForge 1kg PLA plastic rolls in different colours. This set comes with Skydiver, Rose Quartz, Galaxy Blue and Galaxy Gray rolls.

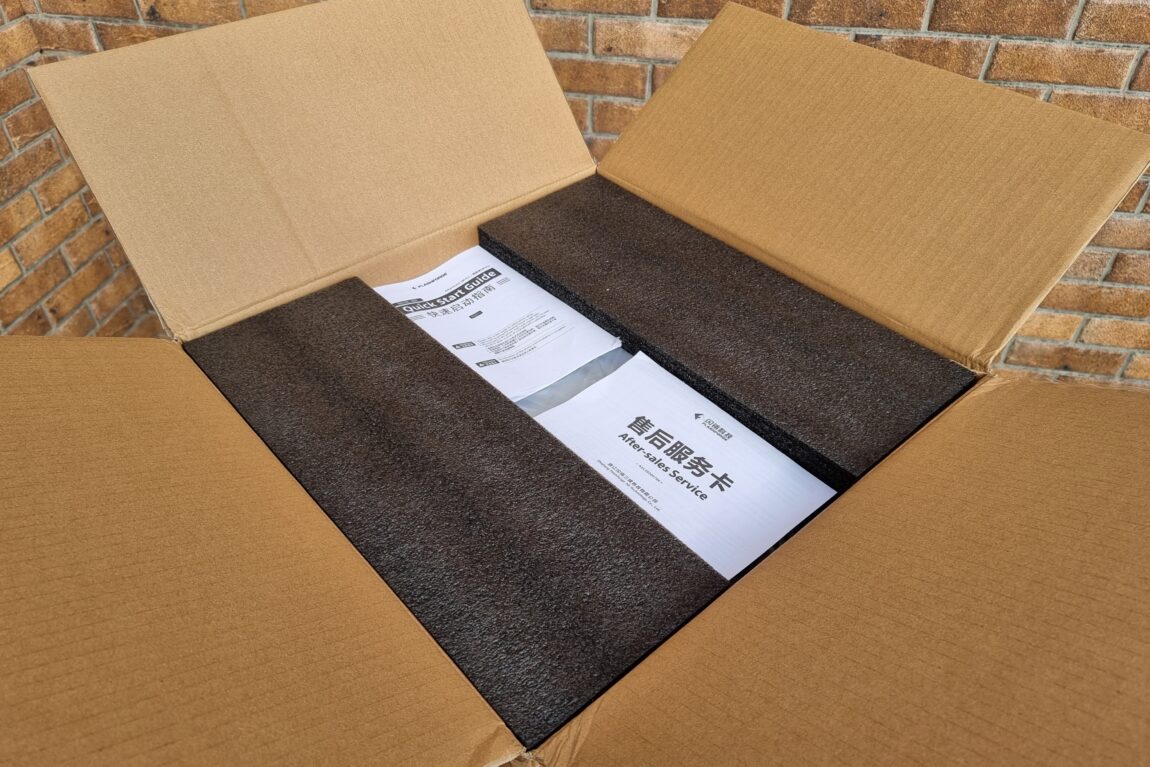
The larger box, with their FlashForge logo and additional handles to make carrying the 18 kg box easier, contains the 3D printer itself, as well as the user manual and warranty information. The instructions provided an easy-to-understand description and illustrated how to properly remove the printer and the additional tools contained in the protective foam from the box.

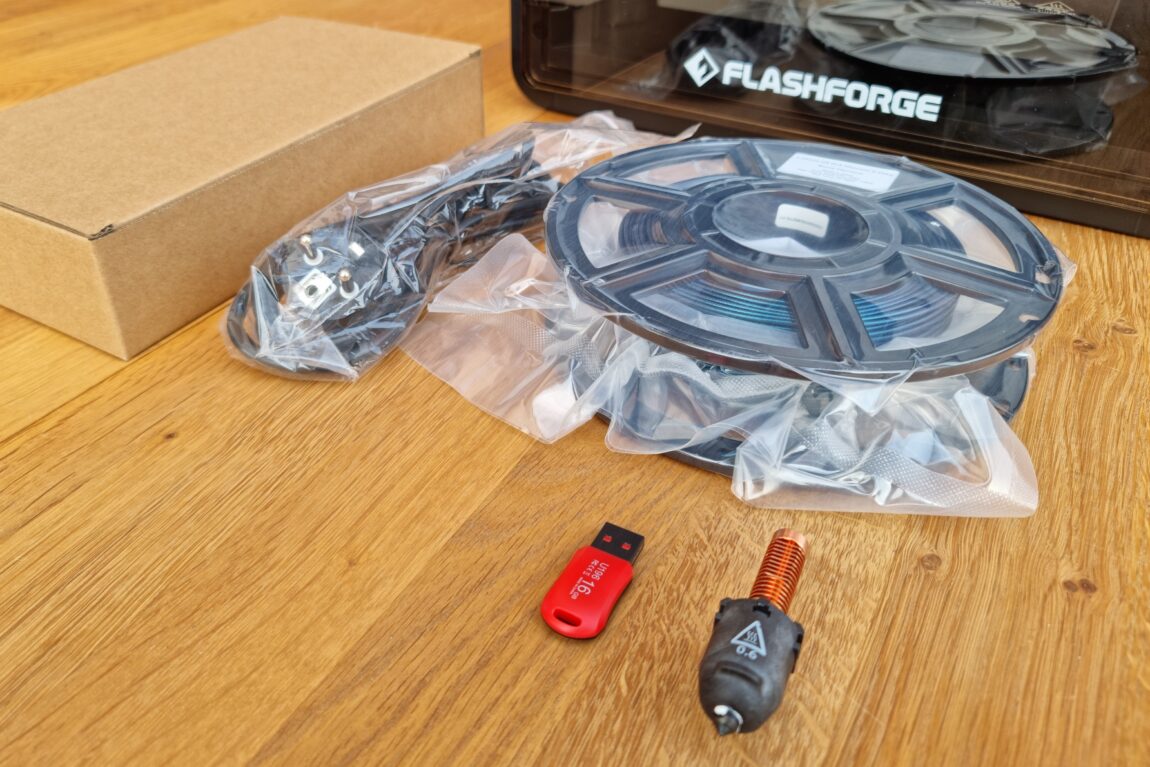
In total, the big box set included a 250 g HS PLA plastic roll, a power cord and a 0.6 mm diameter extruder nozzle. Along with the tool kit, which included: plastic roll holder with 2 screws, grease for lubrication of parts, glue for plastic adhesion, extruder unclogging needle, screwdriver, set of three hex keys and diagonal pliers. It also comes with a USB stick with PC software and more comprehensive instructions than what comes physically with the printer.

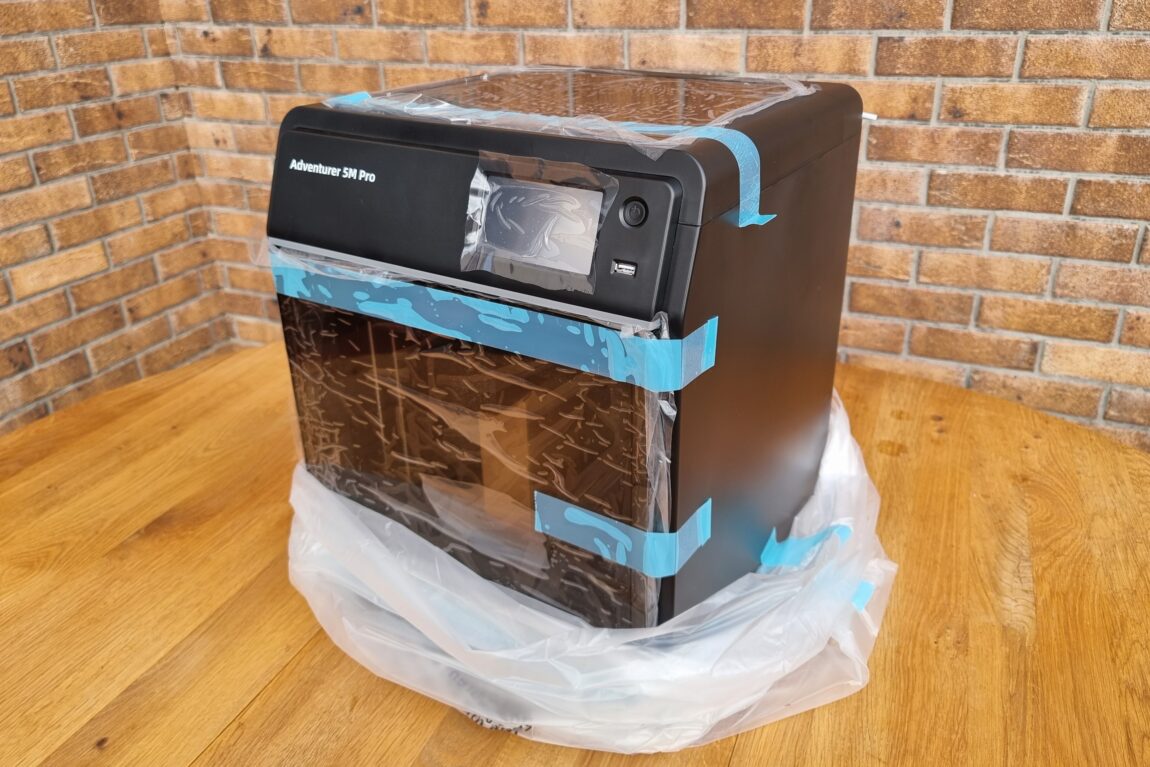
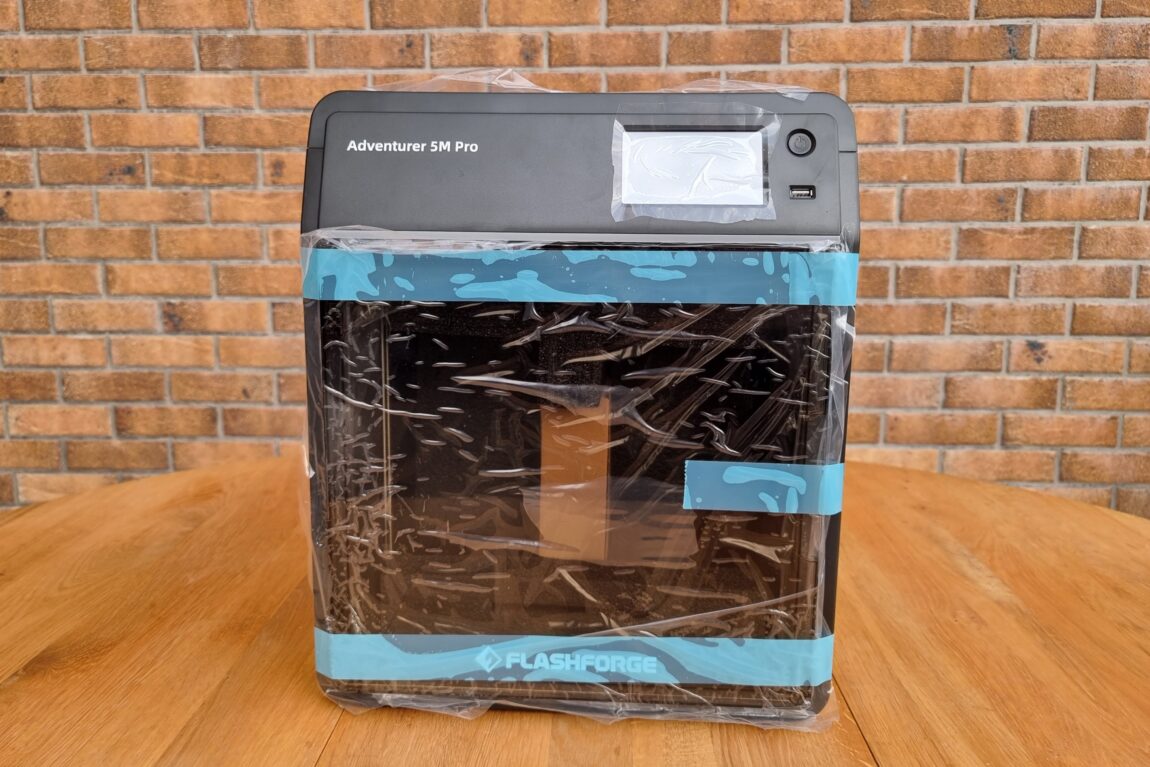
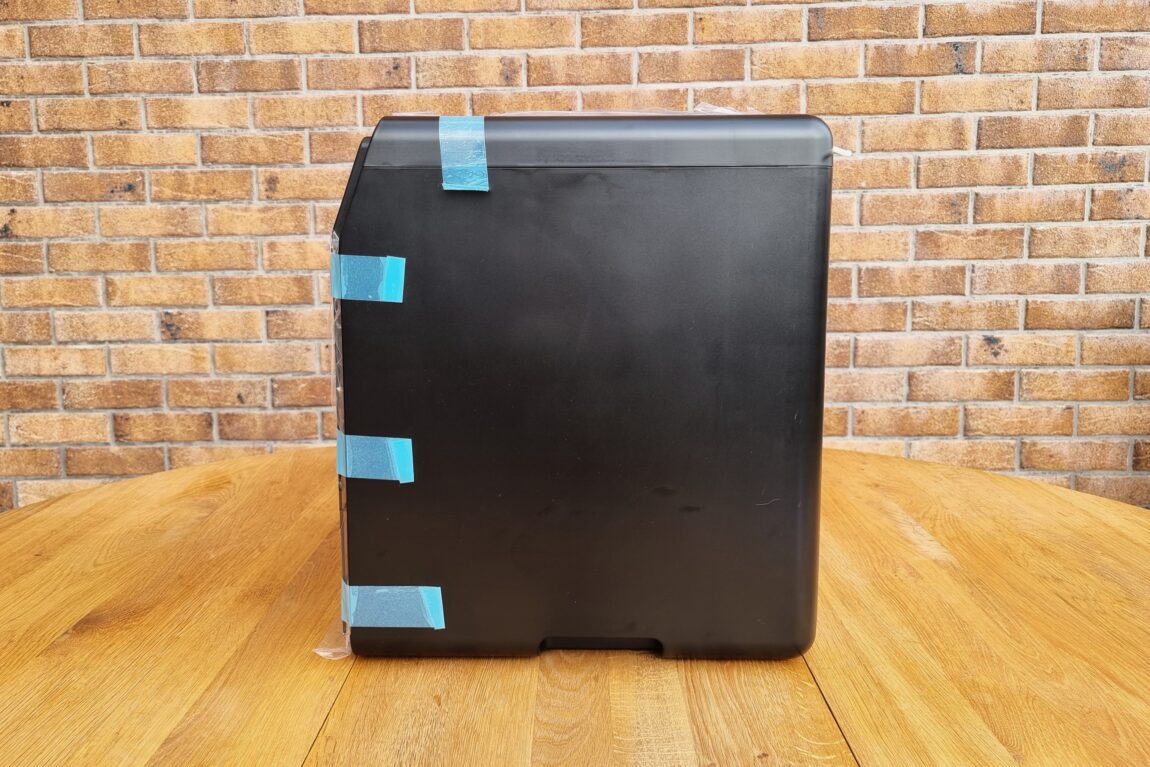
The main 3D printing unit was adequately protected by foam panels and the shipment arrived without any damage. It is important to mention that a factory defect was visible on the back of the 3D printing machine - a 2 cm long shallow score line.

Preparation
When the printing equipment arrives, it is not necessary to assemble it in parts. According to the pre-launch instructions provided, we perform certain steps. We start by unscrewing the screws holding the printing platform. Next, there are yellow arrows on the printing platform and the back of the machine where you need to remove additional screws before using the equipment.
I screwed the plastic roll holder to the back. Then I plugged the device into a power outlet, pressed the device switch, selected the device language, and connected to the local Internet connection. The resulting choice to download the mobile app and connect the 3D printer to the app I skipped for now and then the printer started the first run calibration.

After the printer completed the calibration process, which lasted approximately 15 minutes, an instructional message automatically appeared on the screen that the process of adding plastic to the machine would be performed for the first time. After familiarizing myself with all the links according to the instructions, I was able to start using the 3D printing function.

First impressions and build quality
Although the assembly and commissioning process was clearly laid out and not complicated, it took about 25 minutes in total. The printer itself is made of CoreXY metal structure, which gives it strength and stability.
One note, the print space for this printer is 220 x 220 x 220 mm, slightly smaller than the typical 220 x 220 x 250 mm for 3D printers in this price range. The front door and top opening are made of clear tinted plastic, without any frame made of a stronger material that can break if care is not taken.

The plastic feed tube is in contact with the plastic cover, so it is likely that they will rub against each other during the printing process and leave score lines. Regarding the position of the cover itself: if the machine is stored on a shelf, there may be interference with cutting the plastic filaments and inserting them into the feeding system.

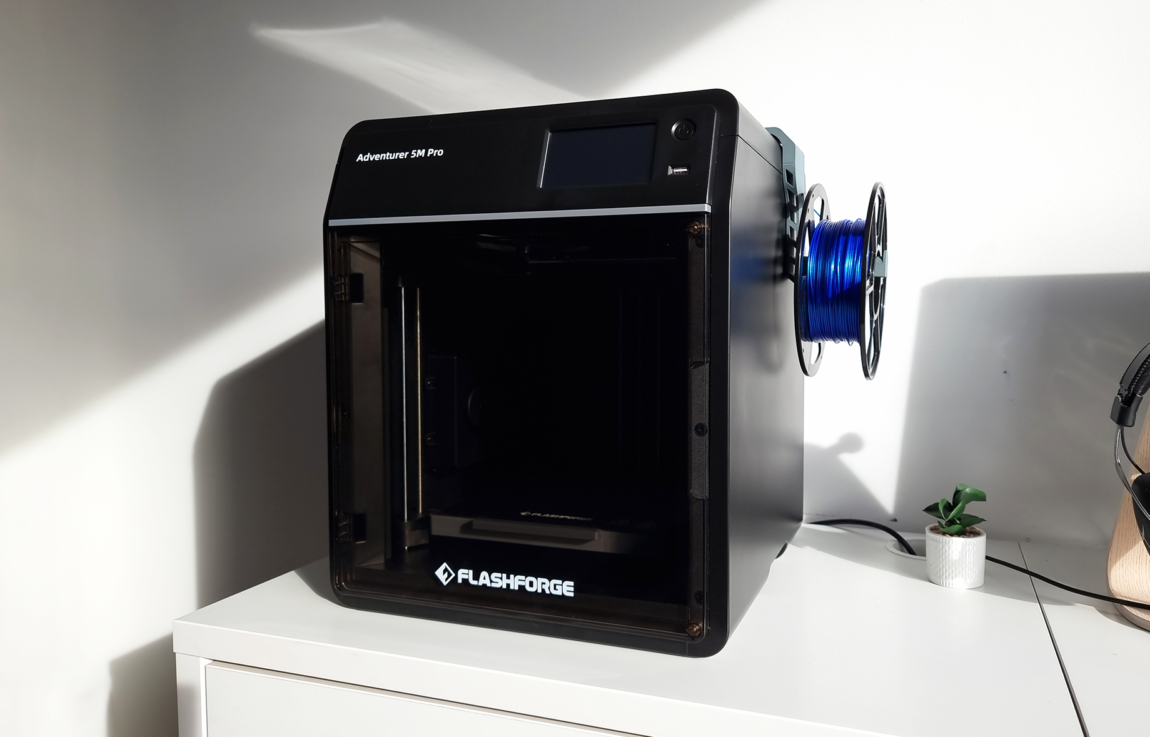
A similar problem occurs with the plastic roll holder located at the back of the printer. This is a rather inconvenient position, as it requires each time to move the device away from the wall or turn it sideways to change the plastic roll.

The equipment itself looked really aesthetic, with a modern minimalist style, compact enough for room conditions, occupying a space of 49x38x45.5 cm (including the roll holder at the back). The weight of the printer is approximately 15 kg, so even one person can carry the machine from one place to another.

Printing of "Default" models
Before the actual printing process, I made sure that the removable printing plate was clean and lubricated with the glue that came with the toolbox. This is done so that the first printed layer adheres properly to the plate. Printing 3D models that are already stored in the machine's memory is quite simple. For the first test, I selected the print section on the printer screen and decided to start with a 2x2x1 cm rectangular pattern. This is simply the model I used to test the device.
After selecting the model, I was asked if I wanted automatic platform alignment to be performed immediately before printing. Since this was already done during the very first calibration, I left the option box unchecked and pressed - "Print". During the process, the remaining printing time and the progress percentage were displayed. After 5 minutes, the machine indicated with a short melody that printing is finished. The part was formed beautifully with no visible defects.

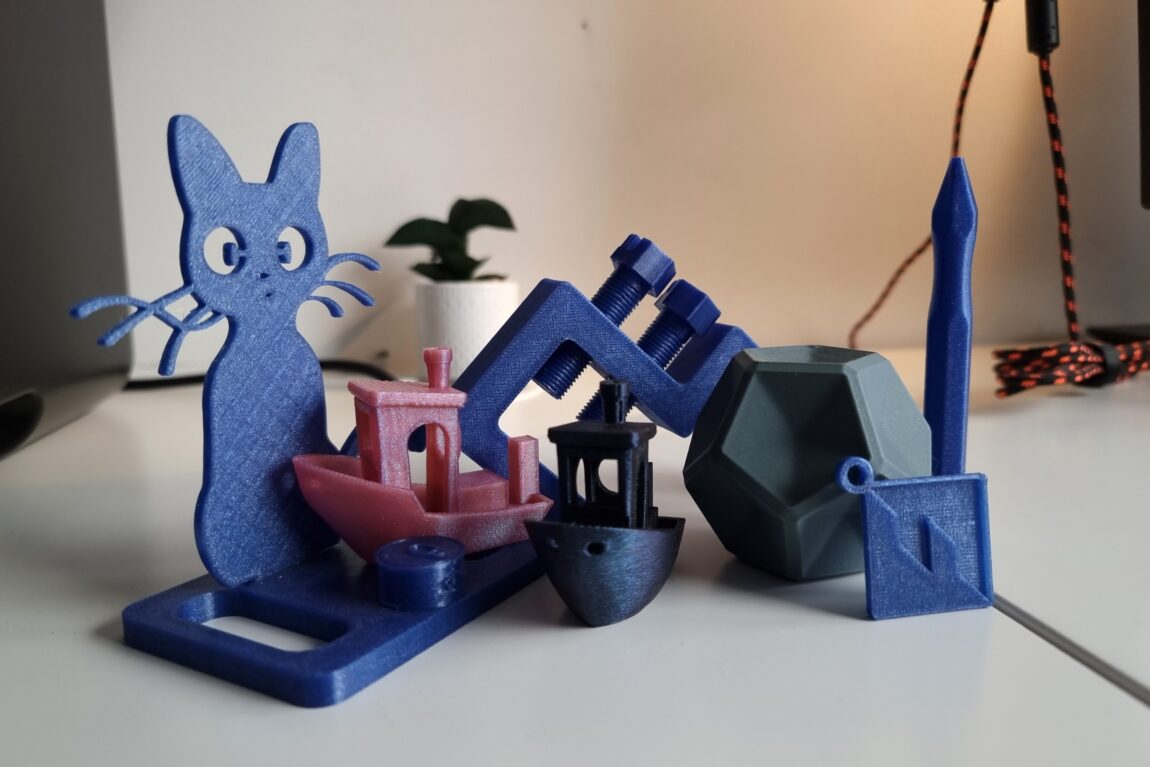
I then moved on to printing the Benchy boat, the model of which is also written into the printer. It is the standard 3D model for testing, as its detailed design brings out various printing challenges such as: arches, bridges and fine surface details, all in a compact form. It quickly reveals printer capabilities and calibration issues, making it perfect for evaluating print quality across different 3D printers.

All seven attempts to print this boat were very successful - no visible crooked lines, arches and bridges were connected correctly on all axes. Finally, I printed the rest of the 3D models in the printer's memory: they all turned out neat, without any visible defects, regardless of which plastic I used.

Models from the Internet
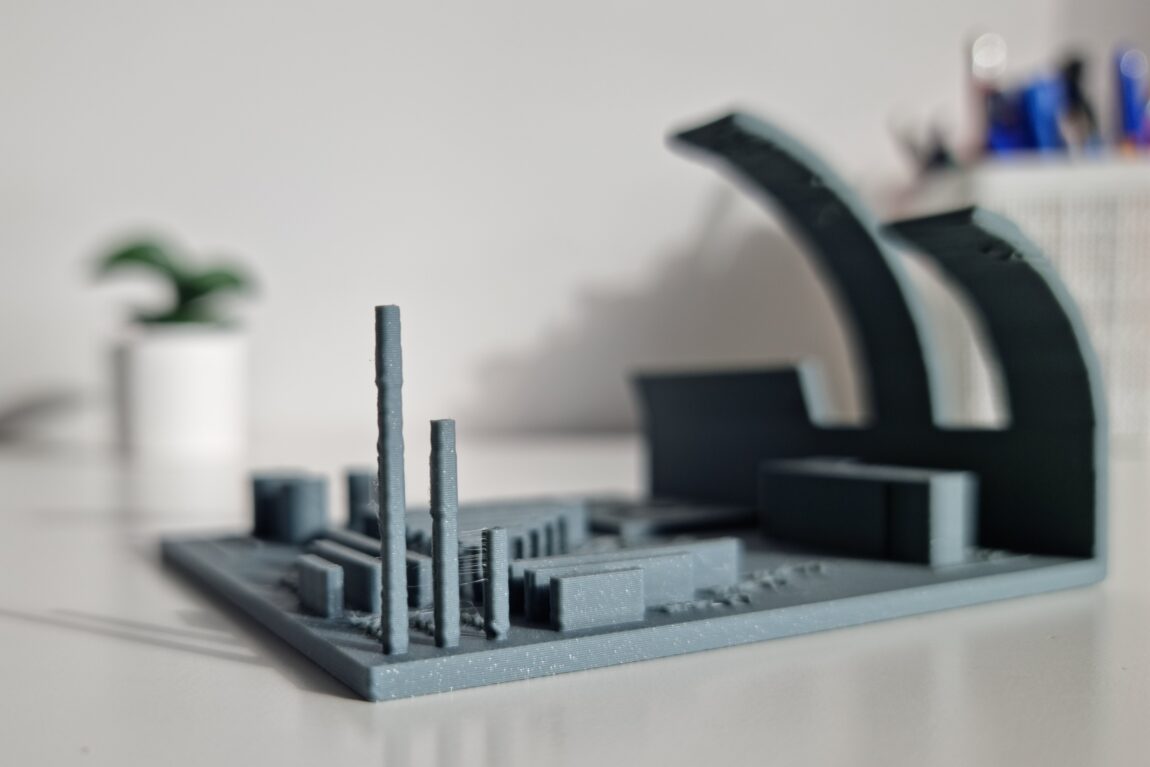
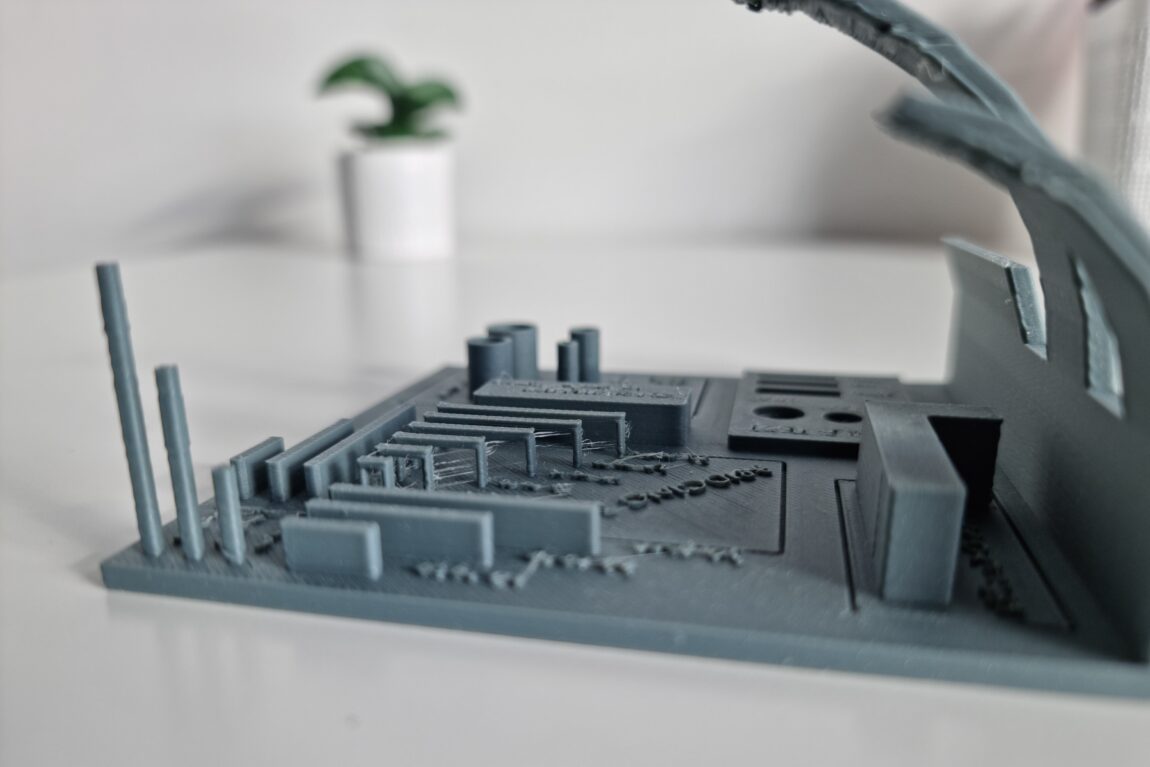
However, when it came to printing several patterns downloaded from the web, I got more mixed results. On the Internet, I found a fairly common model for testing the quality of All-in-One printing. I printed it with different colored plastics: I managed to print most of the models similarly, except for the tests with gray plastic. When working with the latter for the first time, the gray plastic in the arches sometimes moved to the side and turned into spaghetti, and there were more threads between the bridges and columns than with the other plastics.

In all tests, the text was partially printed, and in several places it was not even recognizable as a letter or number. This is because the letter line density on this model is between 0.35 and 0.23mm narrow, and the 0.4mm diameter nib is not narrow enough to produce that much detail. Nevertheless, all other important details came out perfectly with the right settings in the Slicer software.

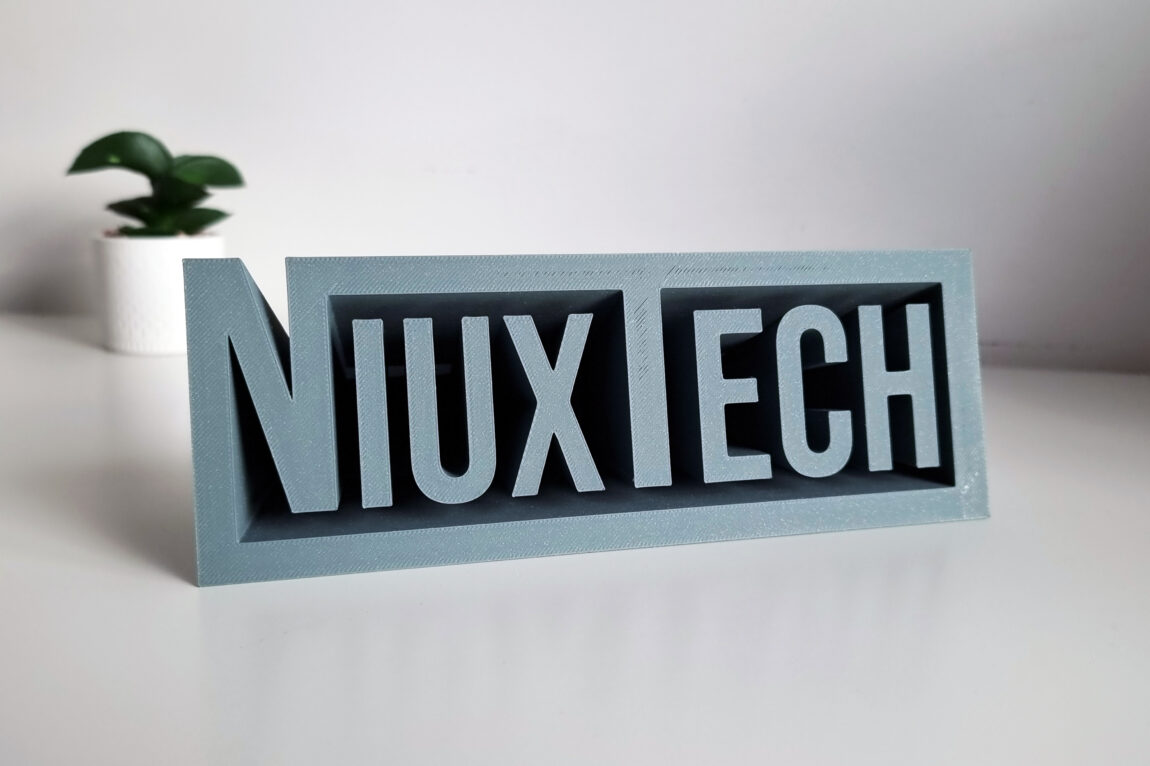
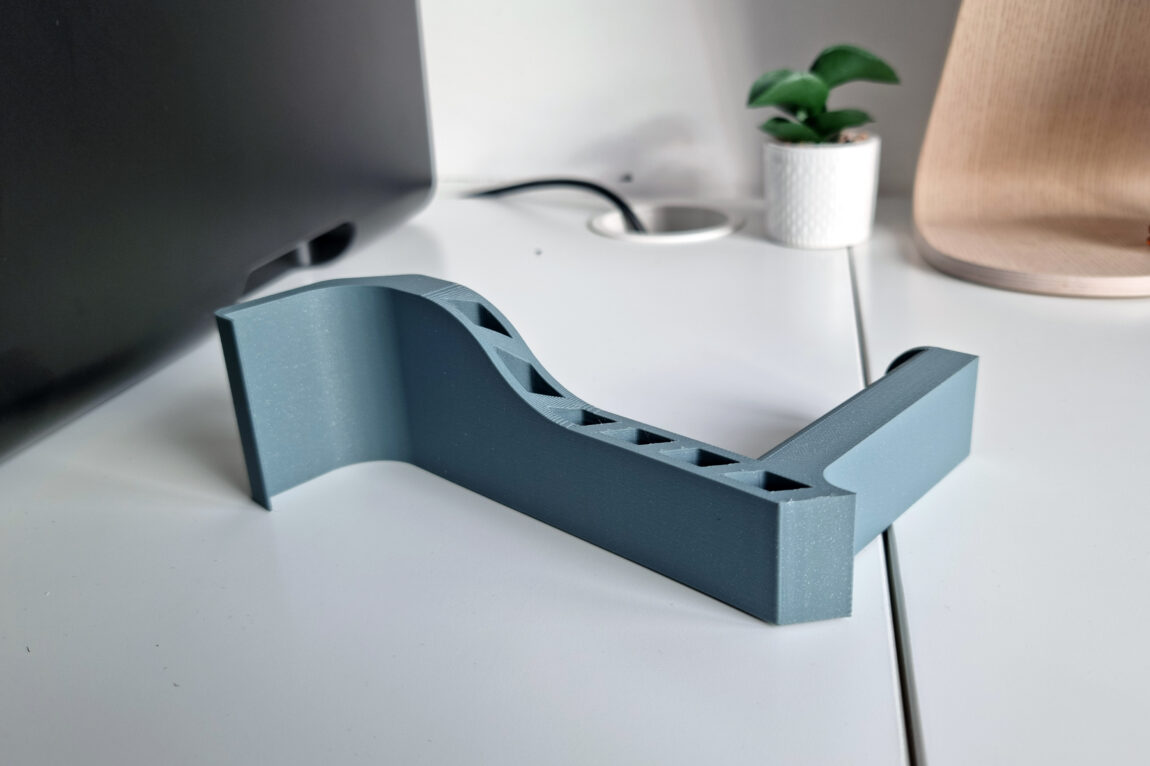
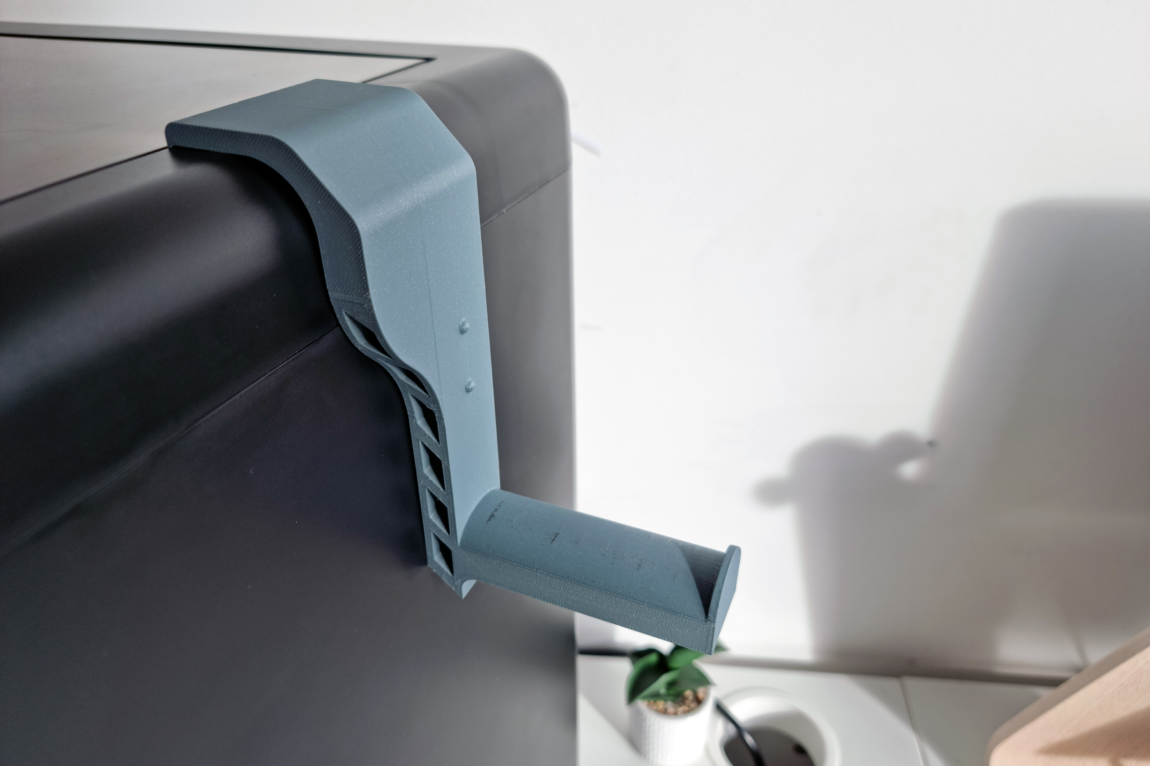
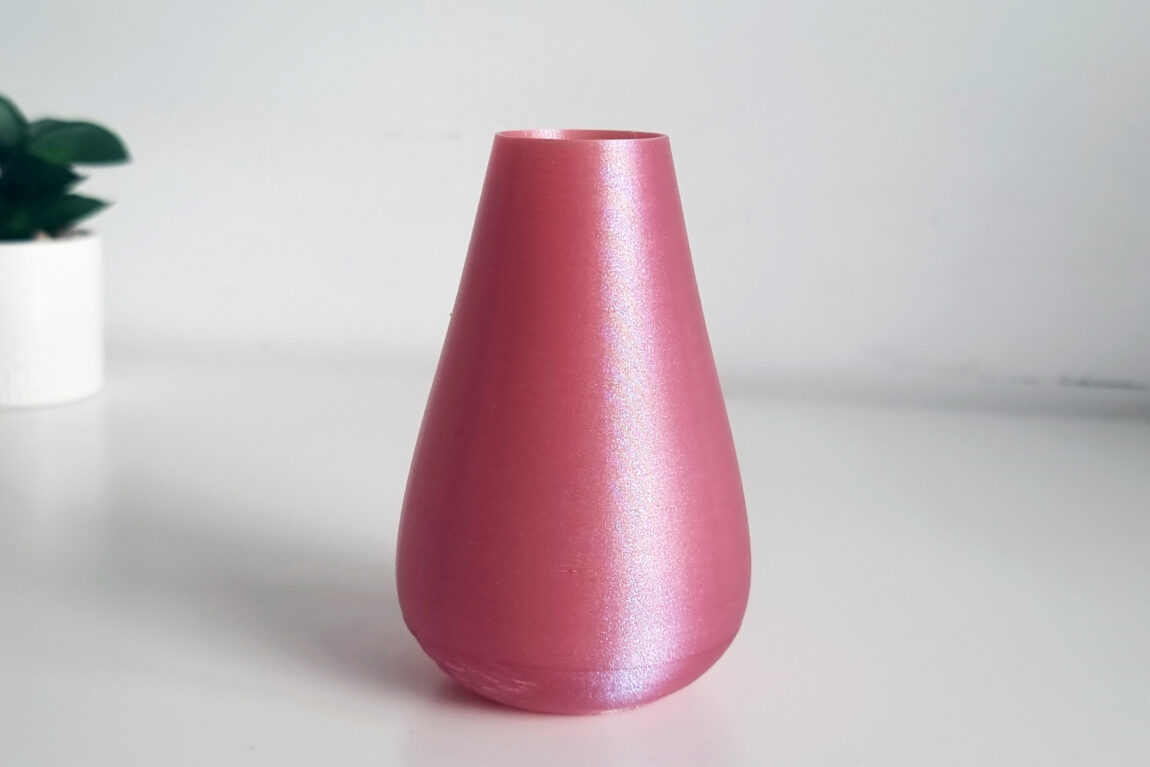
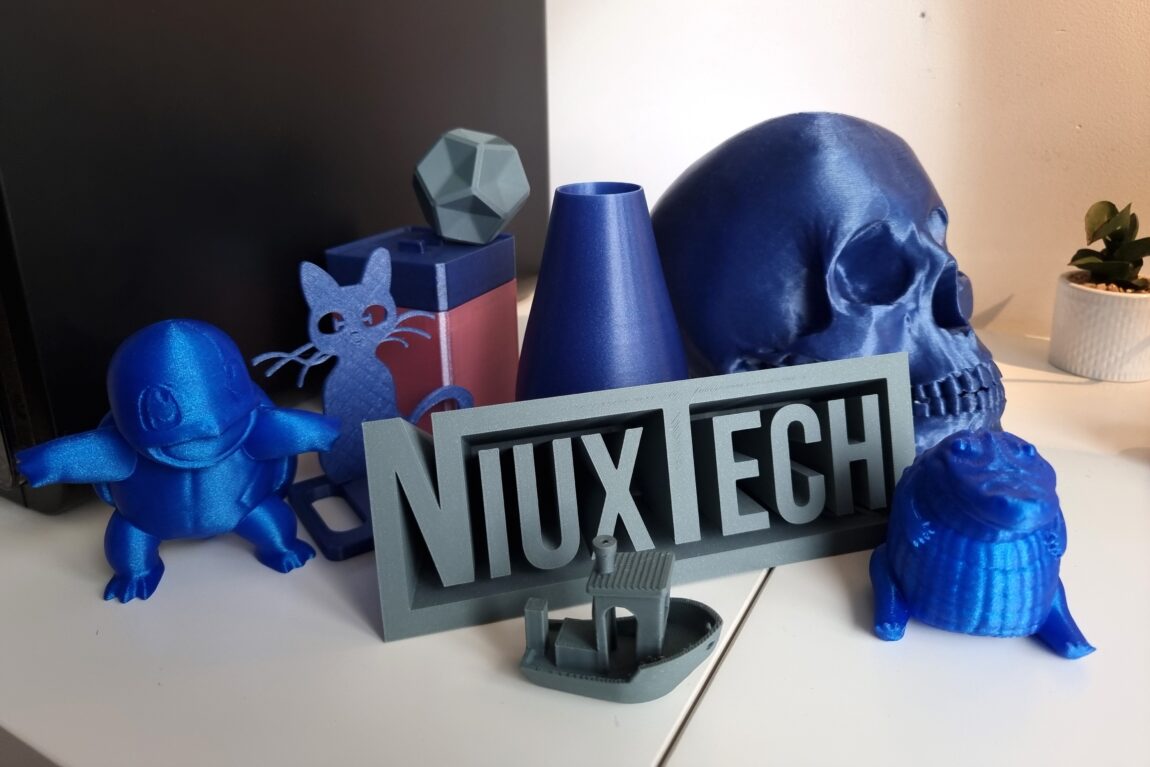
I also printed several models found on the Internet: several XYZ cubes, two different types of boxes, a crocodile statue, a plastic roll holder, and my modeled drawer, vase and NiuxTech logo. All the models turned out to be of high quality, with clear details and smooth surfaces, so the printing results were really very pleasing.

Tip replacement
While working, I noticed that when printing larger models with a 0.4mm tip, you have to wait longer, so I thought it would be time to test a 0.6mm diameter tip. I can commend FlashForge here for making the entire tip change process very quick and easy. All I had to do was pull the tube out and after cutting the plastic thread from the top of the extruder, grab the head (when it was cold), press the two red protrusions on the sides of the extruder with my other hand and pull the nozzle out by jerking it down. Then, taking the new tip, I applied it, inserted it, and in a matter of seconds I had a simple tip change.

If the larger models are printed, the quality doesn't change much, but the settings I chose resulted in the skull being made up of fewer layers of plastic. I printed this 202x139x149mm model with 5% volume fill, 0.42mm layer height and the process itself took approximately 5 hours and 20 minutes. Although the layers were higher in this case, the model still looked amazing and the wait was not long.

Slicer software
Printing your own 3D models or those obtained from the Internet requires some effort. Basically, learning how to minimally use programs that are designed to process .stl files of 3D models into .gcode files that the printer can understand. These types of programs are called Slicers, and this printer comes with exactly two that you'll find on a USB stick: FlashPrint 5 and Orca-Flashforge.
The first is a simple program created by manufacturers. However, it is limited in the variety and quantity of its settings and is not widely used. Orca-Flashforge is a version modified by manufacturers and adapted specifically for their 3D printers. It is a fork of the already existing Orca Slicer (one of the most used Slicer programs), which is used due to its relative simplicity, integration of various tools, and the open source nature of the program.

I chose to use Orca-Flashforge because I read a lot of good reviews about it. The instructions provided by the manufacturers themselves show: how to install specifically Orca-Flashforge, not FlashPrint 5. In this case, one small inconvenience is that the version provided on the USB stick was 1.0.1, so after installing the program, I was redirected to their page where I had to download and update to version 1.1.0.

Software options are extensive. Here you can process your .OBJ, .STEP, .STL files, set: how to print them, what size, and you can even print several models at the same time. You can log into the app with your Flashforge account and tether your existing 3D printer. The program allows you to see all connected printers, their status, how much time is left until the end of printing. It is also possible to remotely send a command via WiFi or LAN to print the selected 3D model without leaving the computer.

Also, if the camera is enabled through the printer settings, it is possible to connect and monitor the live image from inside the machine: how the whole process is going, whether any errors have occurred. In the event of a malfunction, printing can be paused or completely canceled remotely. It is worth learning how to use the Orca Slicer program, because it can be adapted to different manufacturers of printers and it is the main tool when working with 3D printers. As a first-time user of such a program, it was really not difficult for me to learn: there is a lot of information, documentation and examples in English.

When using this program at first, I often encountered problems trying to log into my account, so I was unable to use the printer remotely and had to use a USB stick to transfer models. However, while I was writing this review, the manufacturers released version 1.1.1 of the app, after which I no longer encountered this issue after some more testing.

Flash Maker Mobile App
Some of the printer's functions could be accessed through its menu, but for convenience a phone app was also provided. Official of the manufacturers on the page I found and scanned the QR code to download the app itself. After installing it and logging into my account, I went to the printer's information section and clicked on "My Account," which displayed a QR code that I scanned with the app to pair the printer with my phone.
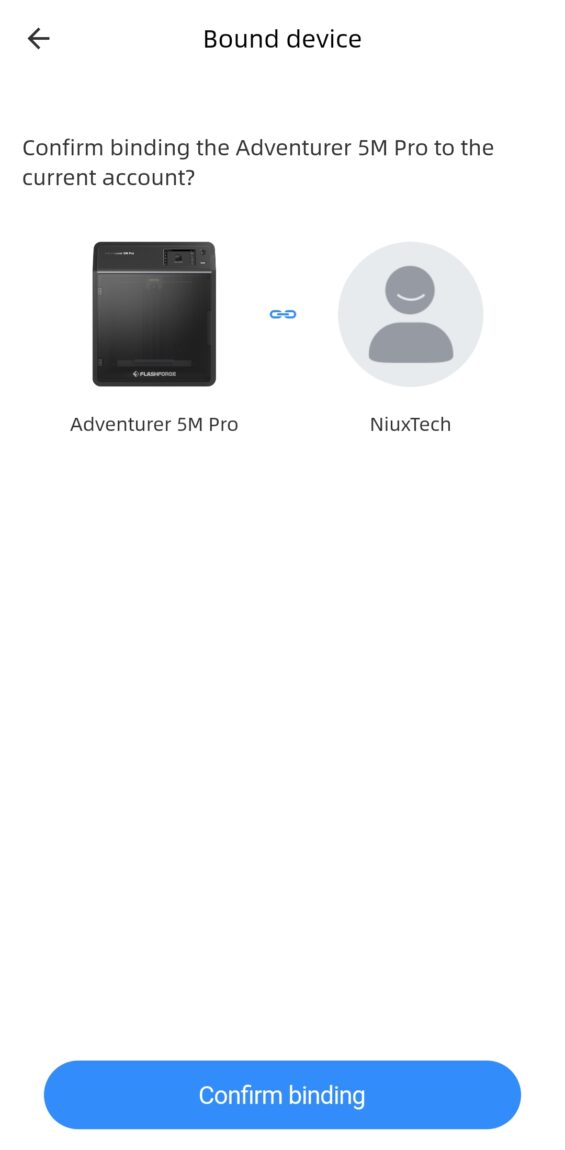
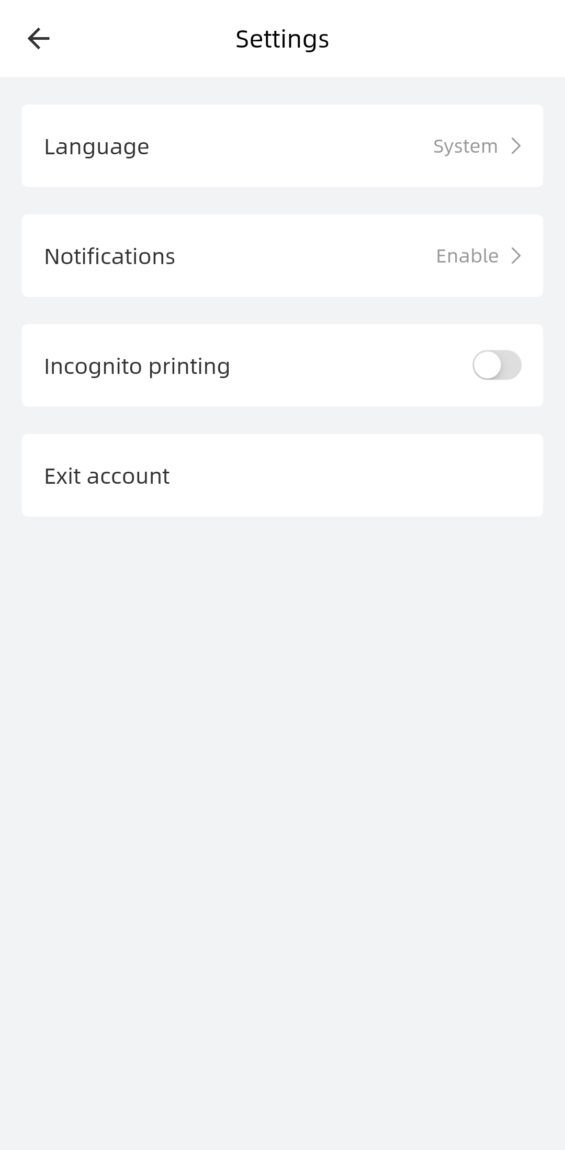
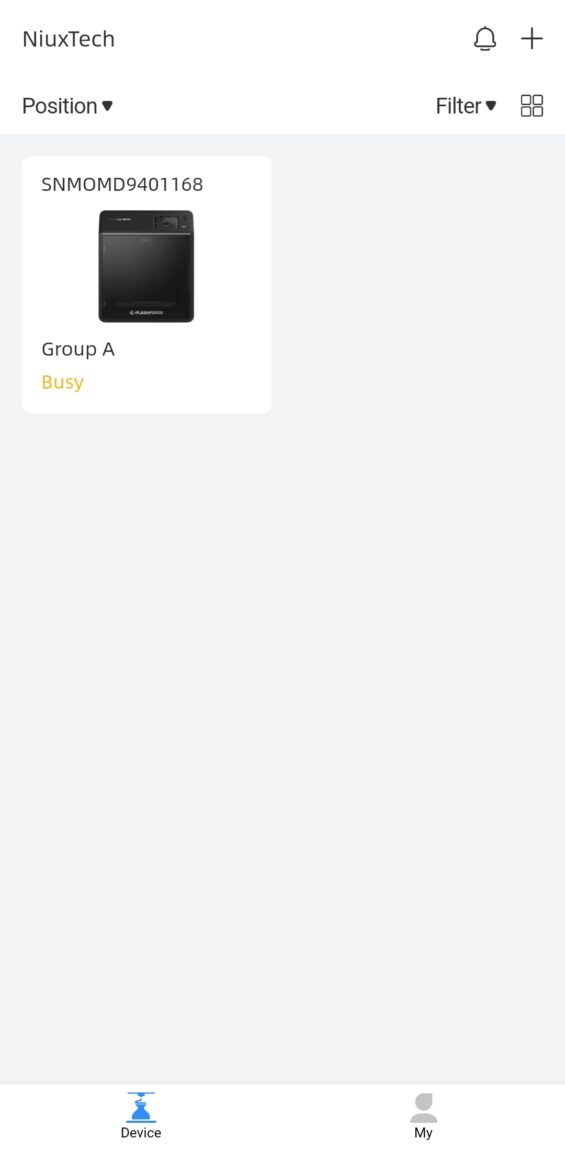

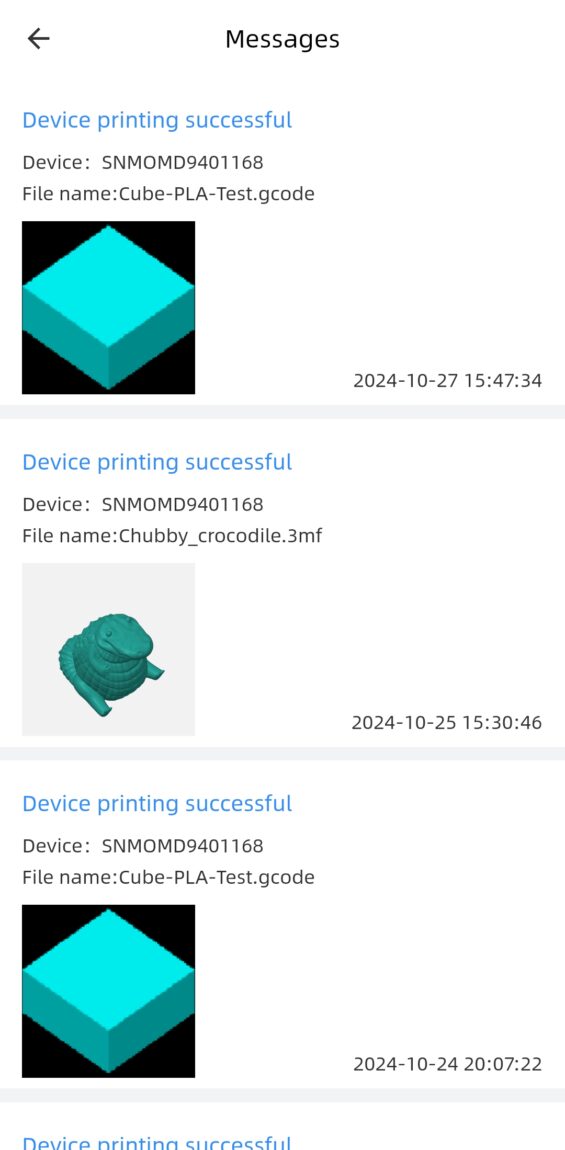
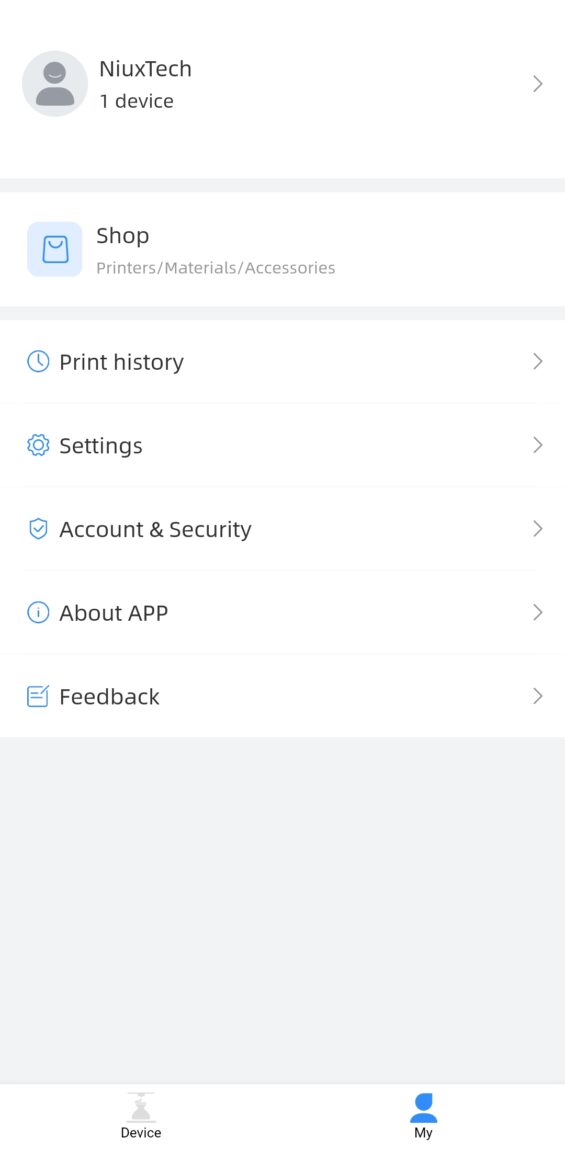
After this connection, I was able to remotely monitor and control the printer, similar to Orca-Flashforge. Another useful feature was the ability to view timelapse videos through the app after each print. For this, you had to activate this function yourself by turning on the "video" option in the printer's camera settings, otherwise the timelapse recordings would not be saved.


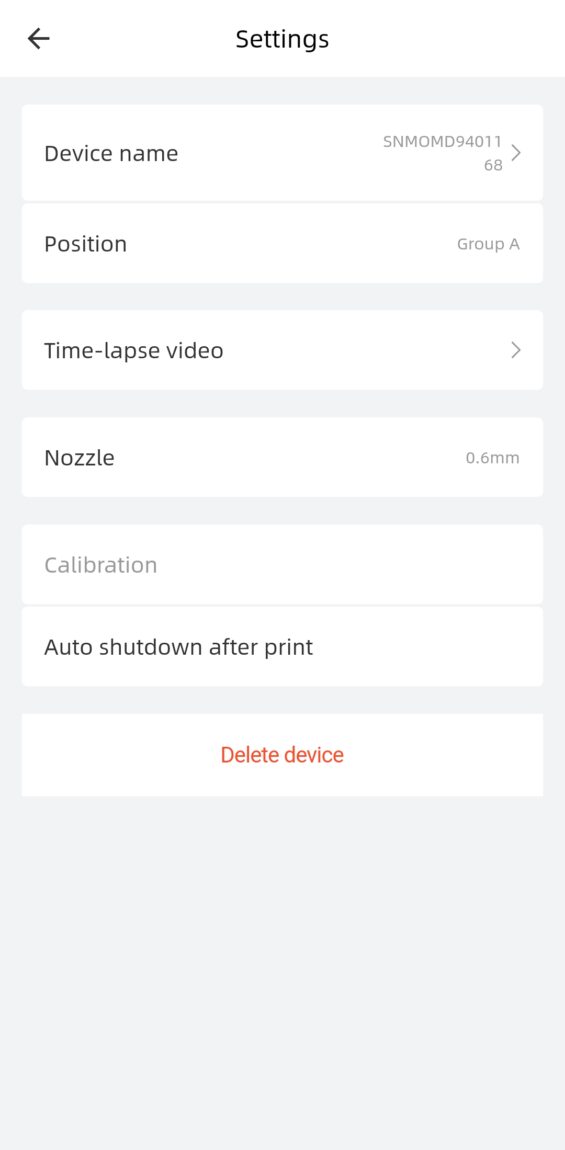
To view the recordings, after selecting the associated printer in the app, I went to its settings and clicked on Time-lapse video, where all the videos were saved. I was also able to save these recordings to a USB stick directly through the printer settings. The quality of the camera was not the best, but it was enough to identify possible problems in the recordings that could have caused an error in the printing process.
Problems encountered during testing
Although the printer itself is undoubtedly of high quality and robust, I have learned that when working with 3D printers you have to face all sorts of problems, and this Adventurer 5M Pro is no exception. When I left one of the boats to print, when I returned to the printer I was greeted with an image of a half-finished boat. The thread became entangled in the plastic roll in such a way that the machine could not take in any more plastic and continued to spin in the air.

In this case, all I had to do was cut the plastic from the outside of the FlashForge Adventurer 5M Pro, where the plastic is fed, and from the inside, above the extruder itself, and then just follow the same process as I would normally replace or feed the machine with a normal roll.

There was also a more complicated case: the extruder simply stopped pouring plastic from the head, although there was enough plastic and it was heard that the motor in the extruder was working. My guess is some kind of particle is blocking the head. I tried unclogging it as per the instructions. However, it failed, and possibly a particle of an unknown object was pushed even deeper into the very end.

So I had to buy a separate cleaning kit (for about 9€) with needles that I could insert through the 0.4mm hole of the extruder head and then perform a cold drawing of the plastic. In this case, I allowed the head to heat up to 220°C and when it dropped to 70-80°C, I pulled out the plastic. After fixing everything and starting to print, so far I have not encountered any printing errors or defects related to clogging.

What we didn't like?
The top opening/lid is made a bit too low. The plastic feed tube rubs against the lid and after a few prints you can see scratches that are unsightly and prevent a clear view of the inside. Awkward position at the back of the plastic roll holder, especially if the printer is placed against a wall. You often have to turn and retract the printer itself to change the plastic roll, but there is an option to print your own roll holder that hooks onto the right side and solves this problem.

Although the sound emitted by a working 3D printer does not disturb during the day, it would be difficult to sleep in the same room or across the wall. The blow dryer on the back of the FlashForge 5M Pro is always on, even when the machine is turned off. The only way to completely eliminate the sound is to disconnect the power supply to the printer itself.

Verdict
All in all, this 3D printer is a great choice for both beginners taking their first steps into the world of 3D printing and those looking to upgrade their older models. Due to the "Core XY" design, the machine prints at the same or even faster than other printers of a similar class and clearly outperforms "bed slinger" type models.

Convenient features such as easy tip replacement or reliable automatic platform leveling make this printer accessible even to novices like myself and enhance the printing experience for more experienced developers. At the moment, there is a cheaper alternative to the model - the simpler Adventurer 5M for €399.00, which is similar to the Pro version. However, the Pro version is superior in that it has a fully enclosed design that is able to retain heat, minimize noise during operation, and has integrated air filters.

Considering the price of €439.00 (price at the time of testing), the Adventurer 5M Pro delivers great quality, combining ease of use with the solid performance and efficient speed often found in higher-end models. For those looking for a versatile, fast and affordable 3D printer, this model offers an excellent balance between price and quality and is definitely worth the investment.


